

Last year I attempted to make these cookies, but it was a horrible crumbly mess, in my defence I had used a non-gluten free recipe and converted it myself...wasn't great. This year I learnt my lesson and searched for a gluten free recipe to begin with. I found this amazing recipe on the Betty Crocker website (for my American readers just follow the link for your preferred unit of measurement but I'll stick to my grams).
COOKIES
200g granulated sugar
226.8g butter
2 teaspoons of vanilla
1 egg
320g gluten free all-purpose flour
1/2 teaspoon of baking powder
1/4 teaspoon of salt
ICING
300g powdered sugar
5 tablespoons of milk
food colouring
Now I didn't have any shortening but after a quick Google search I found it could be replaced in equal measurement by butter. This just changes the texture a bit because it contains water, meaning your cookies will spread out more and lose a bit of their shape while baking, but as you can see from my photos this wasn't by much!
DIRECTIONS
Beat granulated sugar and softened butter in a large bowl until creamy
On low speed beat in vanilla and egg
Stir in flour blend, baking powder and salt until well mixed (don't feel tempted to add xanthan gum, the dough is sticky enough as is)
Divide dough in two (makes it more manageable later on) make them in a rough ball shape and wrap in plastic wraps placing them in the fridge for an hour
Heat oven to 200°C (for fan oven 180°C)
Work on clean surface dusted in gluten free flour (the dough is extremely sticky so use generously including on rolling pin and both sides of the dough itself) roll out dough to approx. 1/2 cm
Cut out desired shapes and place on non-greased baking paper (on oven tray) about 3 cm apart
Bake until edges are lightly browned; this should be about 8 to 12 minutes but because my oven is "special" it took 20 minutes for each batch
Repeat steps 6-8 until all dough is used up
Armed with my Halloween cookie cutters (alternatives here) I was ready to begin.

For the icing I had never thought of using milk before, I've always just added water to my powdered sugar (a great alternative if you're lactose intolerant) but the milk does make the icing a bit richer and creamier...nummy nummy!
The measurements I have given below are very approximate, I did it more by eye than anything, getting the right icing consistency takes practice; here is a link which you might find useful if you're a novice. For my food colouring I used Dr. Oetker Gel Food Colours, great array of colours!


The Pumpkin
The less sugary biscuits of the bunch since they don't have so much icing. I used 20g powdered sugar with 1 tablespoon of milk and orange food colouring for the outline of the pumpkins. I added the eyes and mouth with left over black icing (see below) and added further green for the stems (5g powdered sugar, 1/2 tablespoon of milk and green food colouring).


The Bat
For the black icing I used approximately 150g powdered sugar, 2 tablespoons of milk and lots of black food colouring (enough that it doesn't look grey). I knew I would need a lot of it as I needed to glaze the bats, the black cats (see below) and add detailing on the pumpkins and ghosts.
Once I had done the black glazing all over the biscuits, outlining my shape first then filling in with a zigzag motion, I put them in the fridge for 15 minutes or so. Once that layer had hardened, I added two big white blobs for the eyes, and two small white ones for the fangs. I then added the final black blob for the pupils without putting it in the fridge in between that layer and the white one (I wanted it to blend a bit).

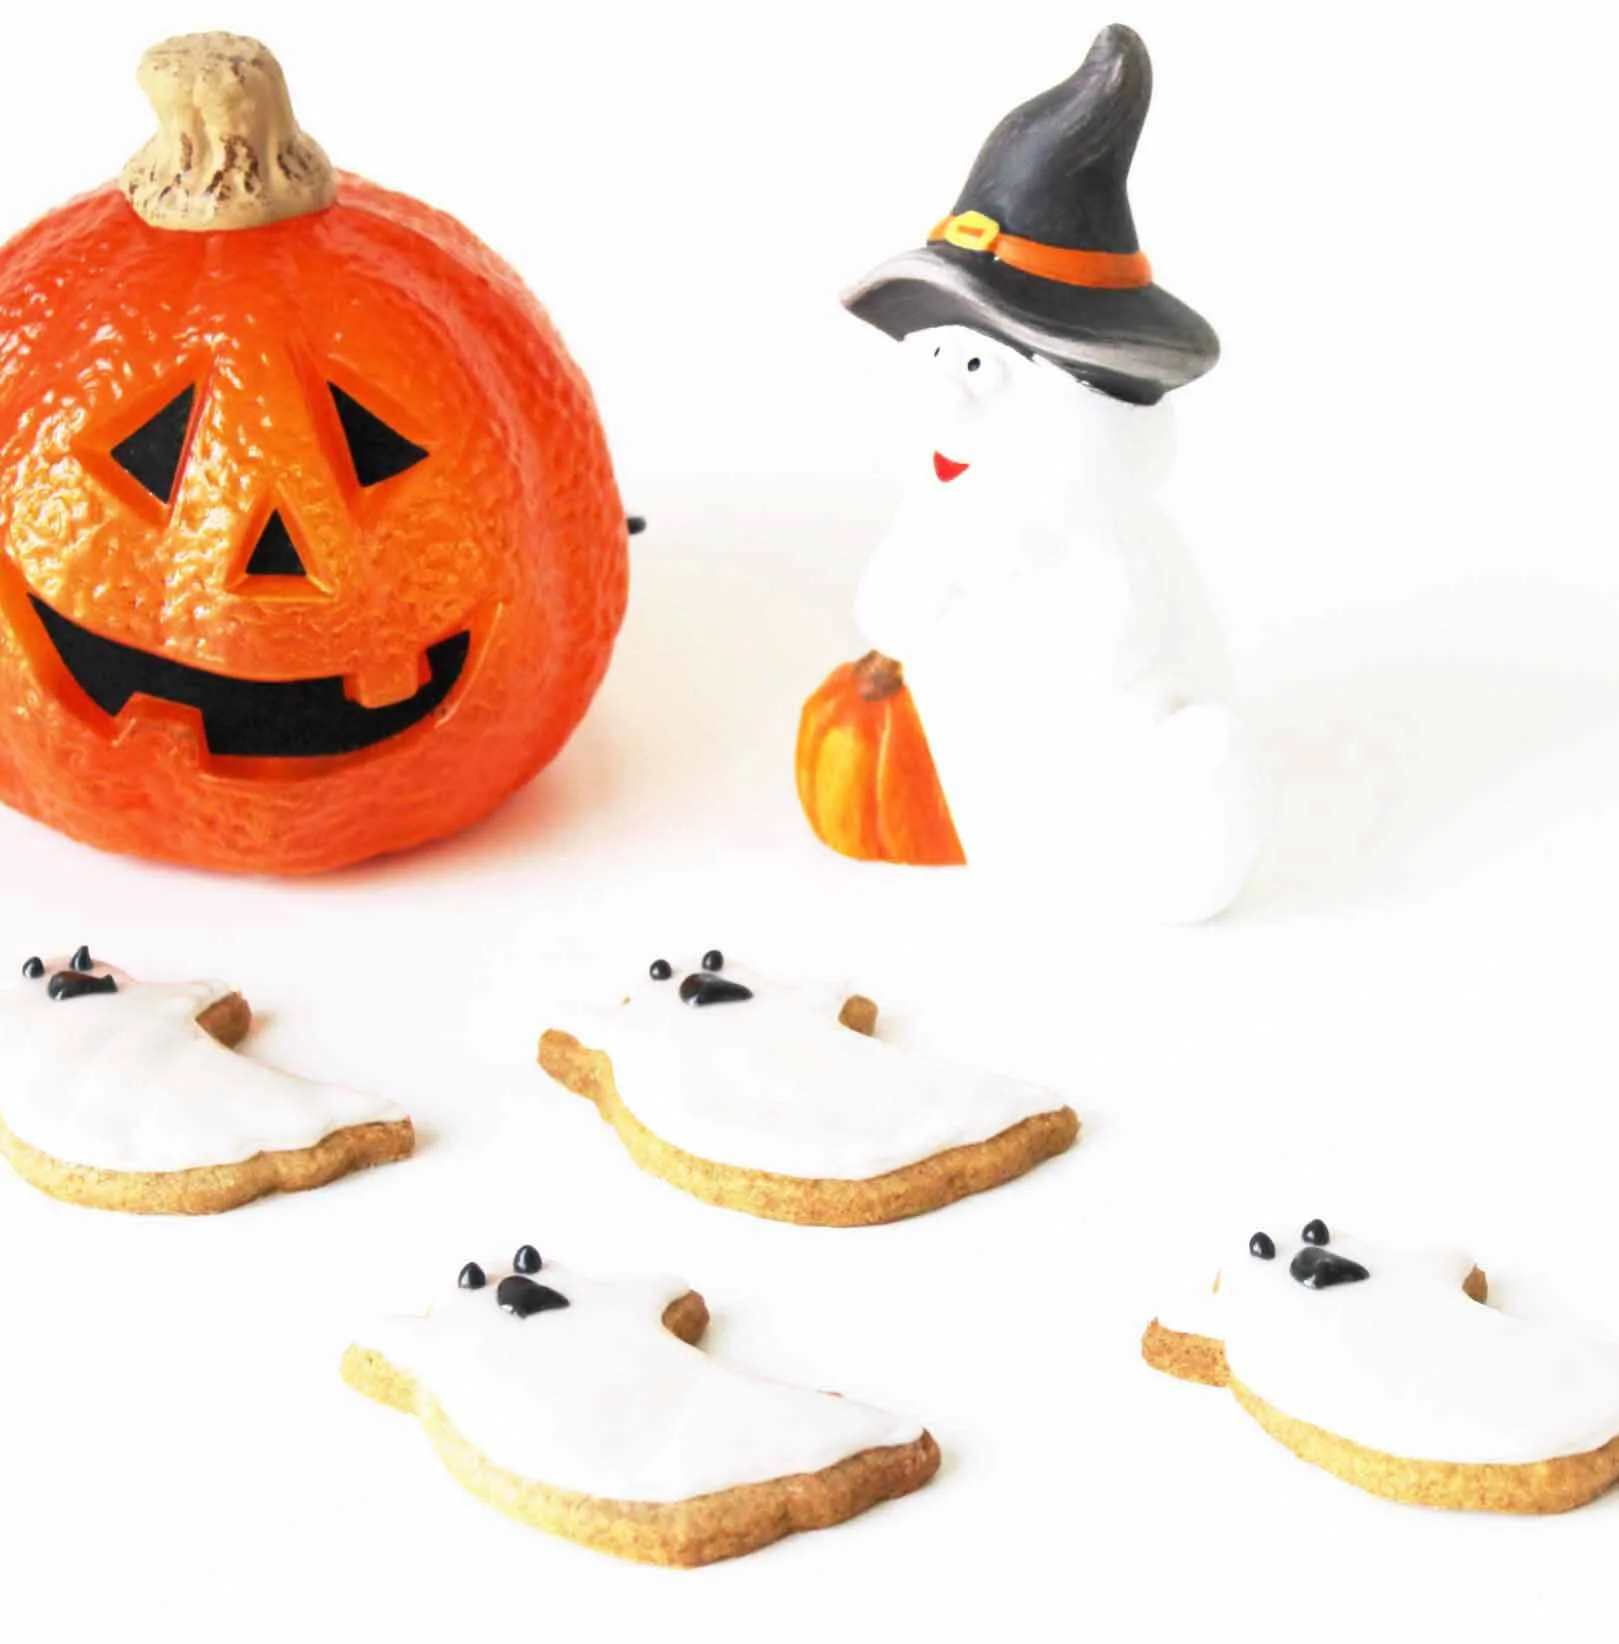
The Ghost
BOO!!! Admit it, you were scared?!! For the ghosts I used 125g powdered sugar and 1 1/2 tablespoons of milk approx. No added colouring since the sugar is already white. Again, I did the outline first then filled in, put in fridge for 15 minutes then added the black small blobs for the eyes and slightly bigger more arched shape for the mouth.


The Black Cat
For the black cats (nod to all the superstitious folks out there) I only did a black glazing without any further detailing. I would have added some green cat eyes but the angle of the head made it very hard to determine where their placement would be, and since I only had four left (a lot had burnt tails or lost them in the baking process) I didn't want to ruin the last survivors...R.I.P. to the ones that didn't make it, you were still delicious! :)


There you have it a rather more successful attempt at the gluten free sugar cookie (Halloween shapes are optional).
Now my delicious cookie army is ready to be eaten...bon appétit!!!
What is your favourite Halloween candy/treat?
What's your best Trick or Treating memory?
How are you celebrating Halloween tonight? I'm thinking scary movie while eating a bunch of these cookies :)
xxxemma